How to Draw a Dreamcatcher Step by Step for Beginners TUTORIAL
Dream catchers are one of the most recognizable cultural artifacts in the world.
Originating as a traditional Native American amuse used to ward off bad spirits and nightmares, they have now go highly recognizable worldwide.
Traditionally, they would be synthetic out of many different materials and artifacts, and learning how to draw a dream catcher tin be a great way to create your ain designs!
If yous would like to discover how to get started with your own dream catcher designs, then you'll want to read all the way to the end of this guide.
This step-by-pace guide on how to describe a dream catcher will make drawing this of import artifact a dream!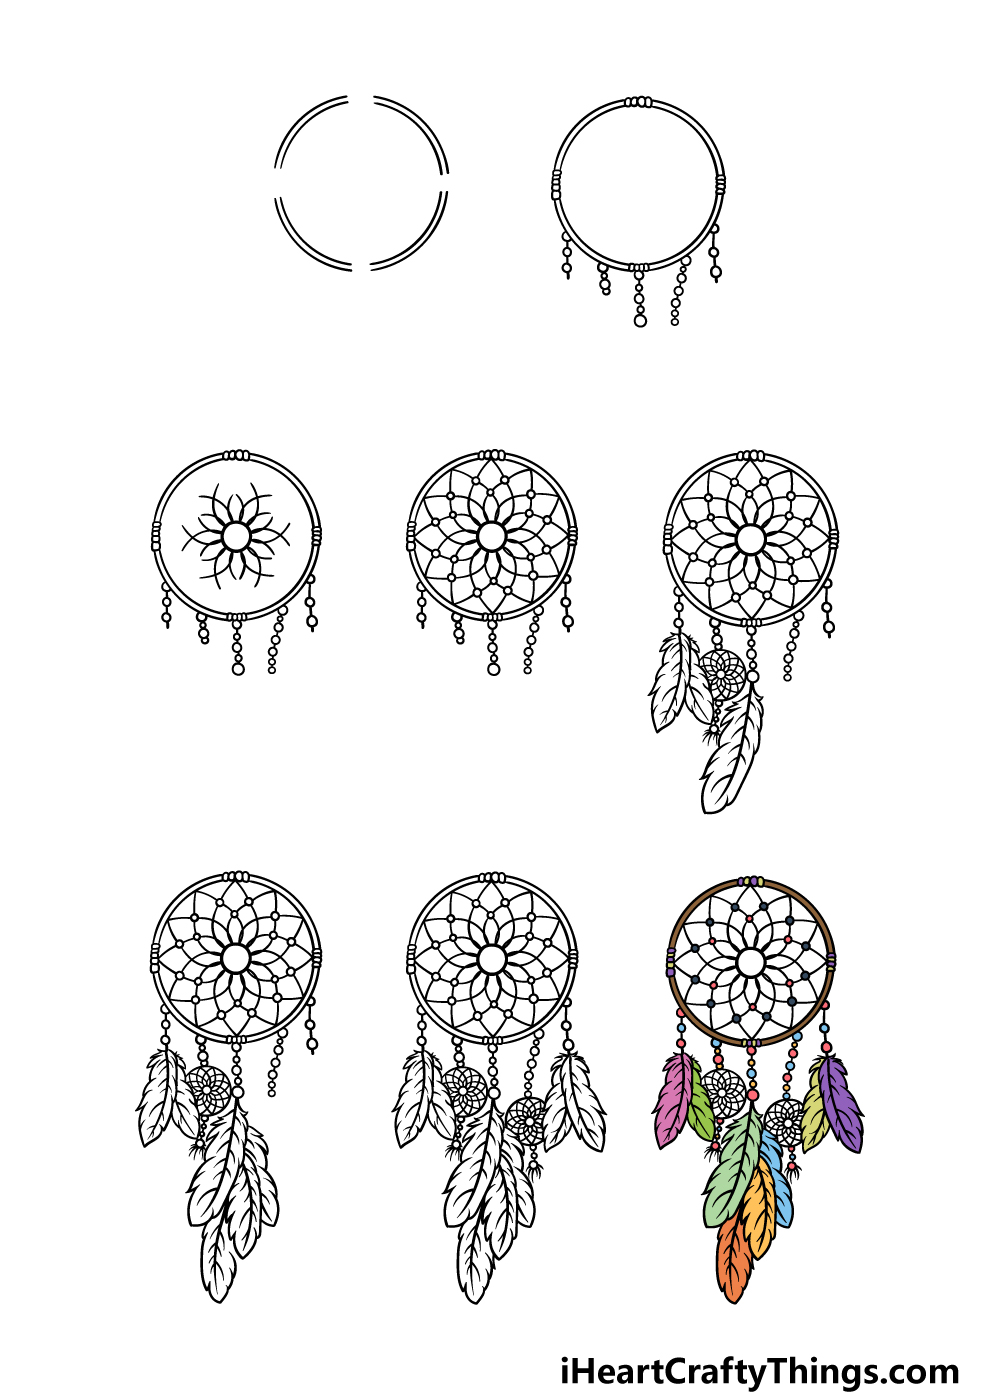
What's in this Blog Post
- How to Draw A Dream Catcher – Let's get Started!
- Step i
- Pace 2 – Next, depict some details for the dream catcher
- Step iii – Now, draw the wire interior of the dream catcher
- Step four – Adjacent, depict the rest of the interior
- Step 5 – At present, add some of the hanging artifacts
- Footstep 6 – Next, describe some more than of the hanging artifacts
- Step 7 – Finish off the final artifacts
- Stride 8 – At present finish it off with some color
- Your Dream Catcher Drawing is Complete!
How to Draw A Dream Catcher – Permit's get Started!
Pace 1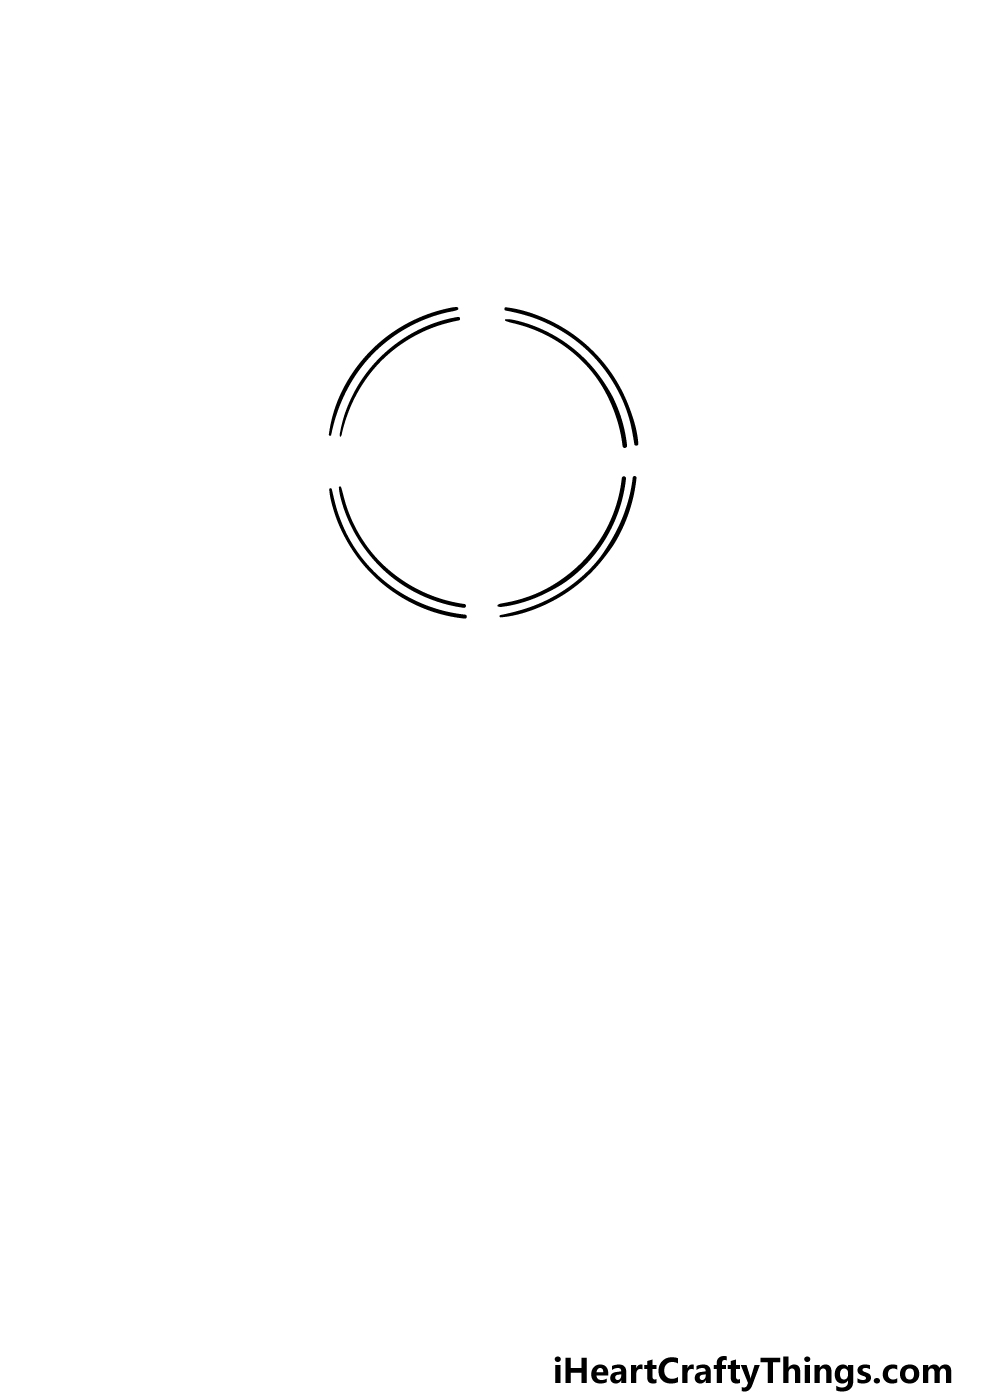
We will be starting with the outline frame in this first step of our guide on how to draw a dream catcher.
To do this, we will essentially be drawing 2 circles, but there will be some aspects we will alter. To make this easier on yourself, the best thing to do would be to use a drawing compass along with a pencil.
Even if you will use a pen for the last image, y'all may want to use a pencil for now.
With that in mind, draw a circle, and and then draw another one inside of it very close to the first i. And so use an eraser to make a small gap at the summit, sides and base of the circle.
Then, use your pen to draw over the lines that remain, and then yous can motion on to the next step.
Pace two – Next, describe some details for the dream catcher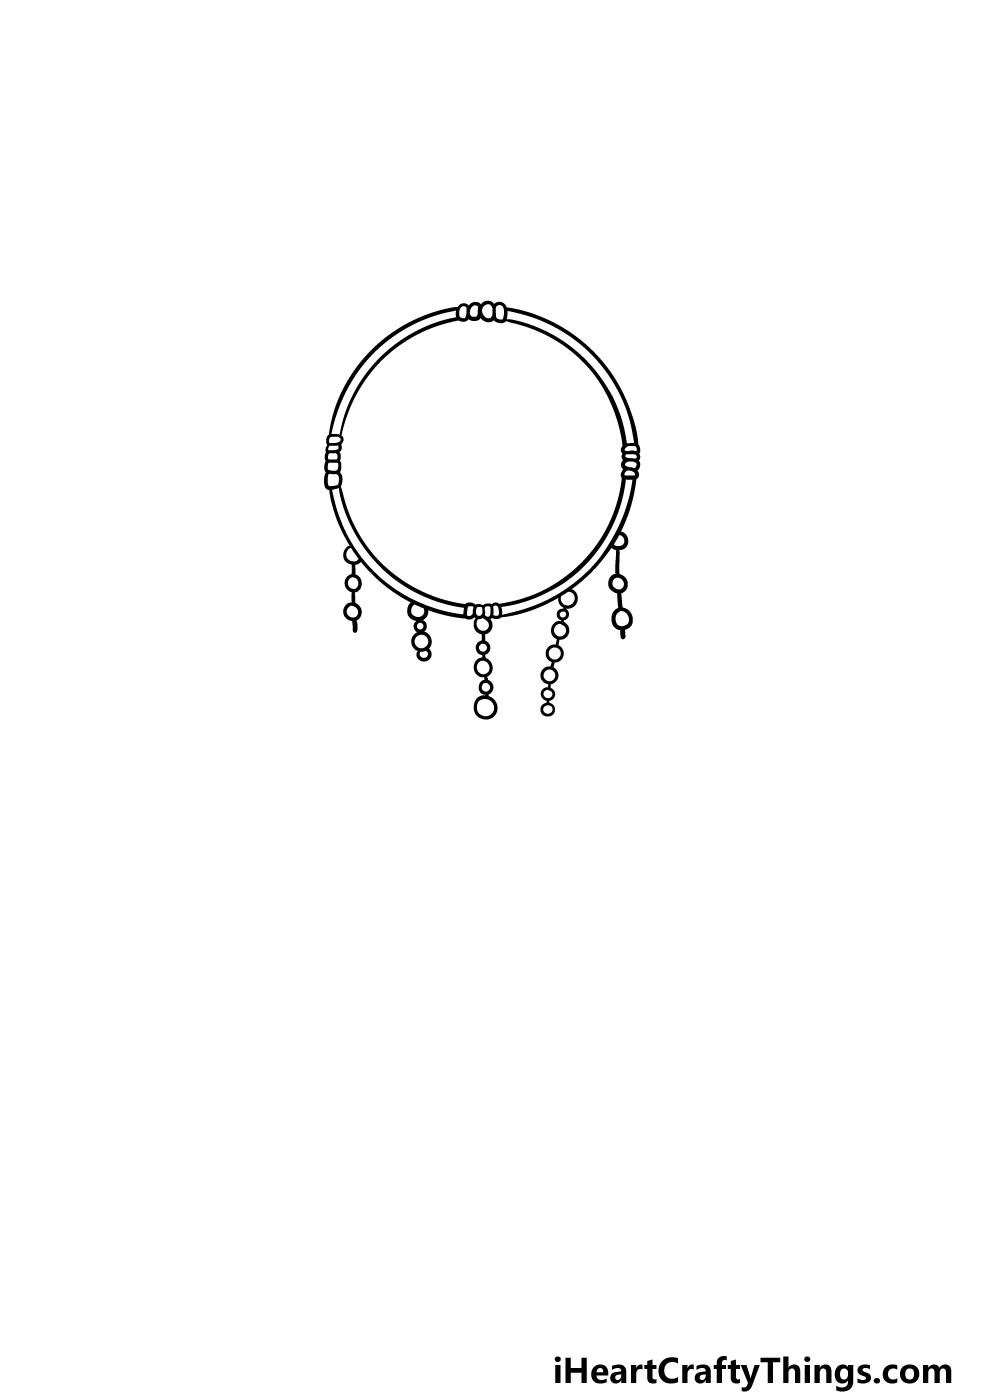
This second part of your dream catcher cartoon will exist based effectually adding some smaller details every bit we build it up. To outset, nosotros will be filling in the gaps on the frame.
To practice this, draw four pocket-sized, round shapes into each gap in guild to look like string tied up there.
Dream catchers will virtually e'er have pocket-size artifacts hanging from them, and you can draw some lines with small circles on them hanging from it for some bead details.
Stride three – Now, draw the wire interior of the dream catcher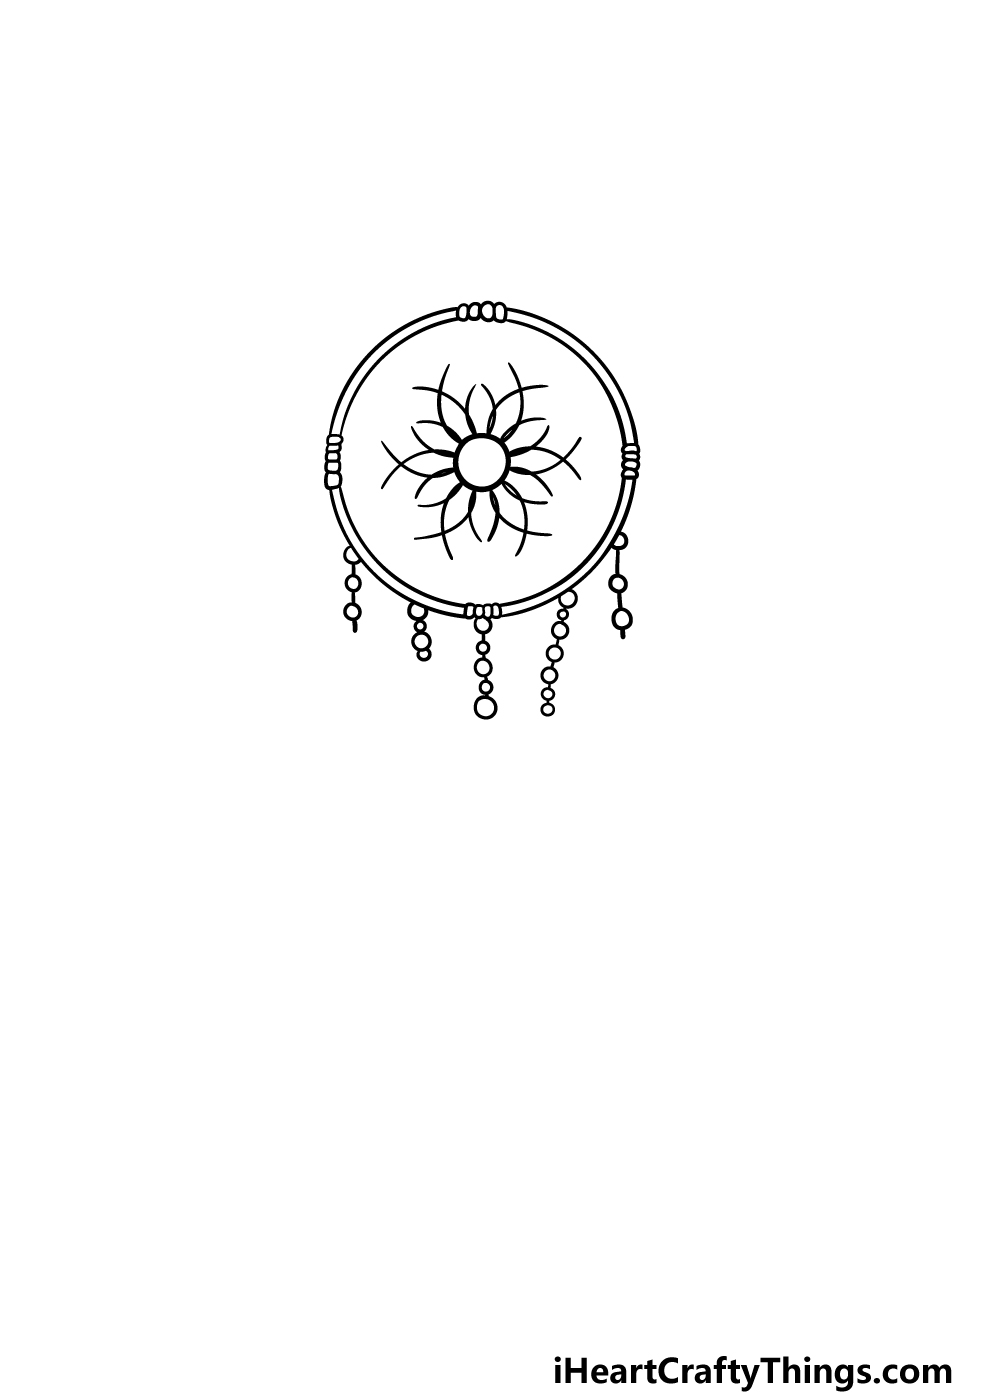
Nosotros shall get-go to depict the wired interior of the artifact in this step of our guide on how to depict a dream catcher, and this is where things can become a bit tricky!
Showtime by drawing a pocket-sized circumvolve equally close to the eye of the dream catcher as you can. Then yous volition be drawing lots of lines curving outwards from this center.
Y'all may want to closely follow the reference image every bit you lot draw, as in that location is quite a specific pattern that we volition be going for.
Once you're happy with it, it will be on to pace 4!
Footstep 4 – Next, draw the rest of the interior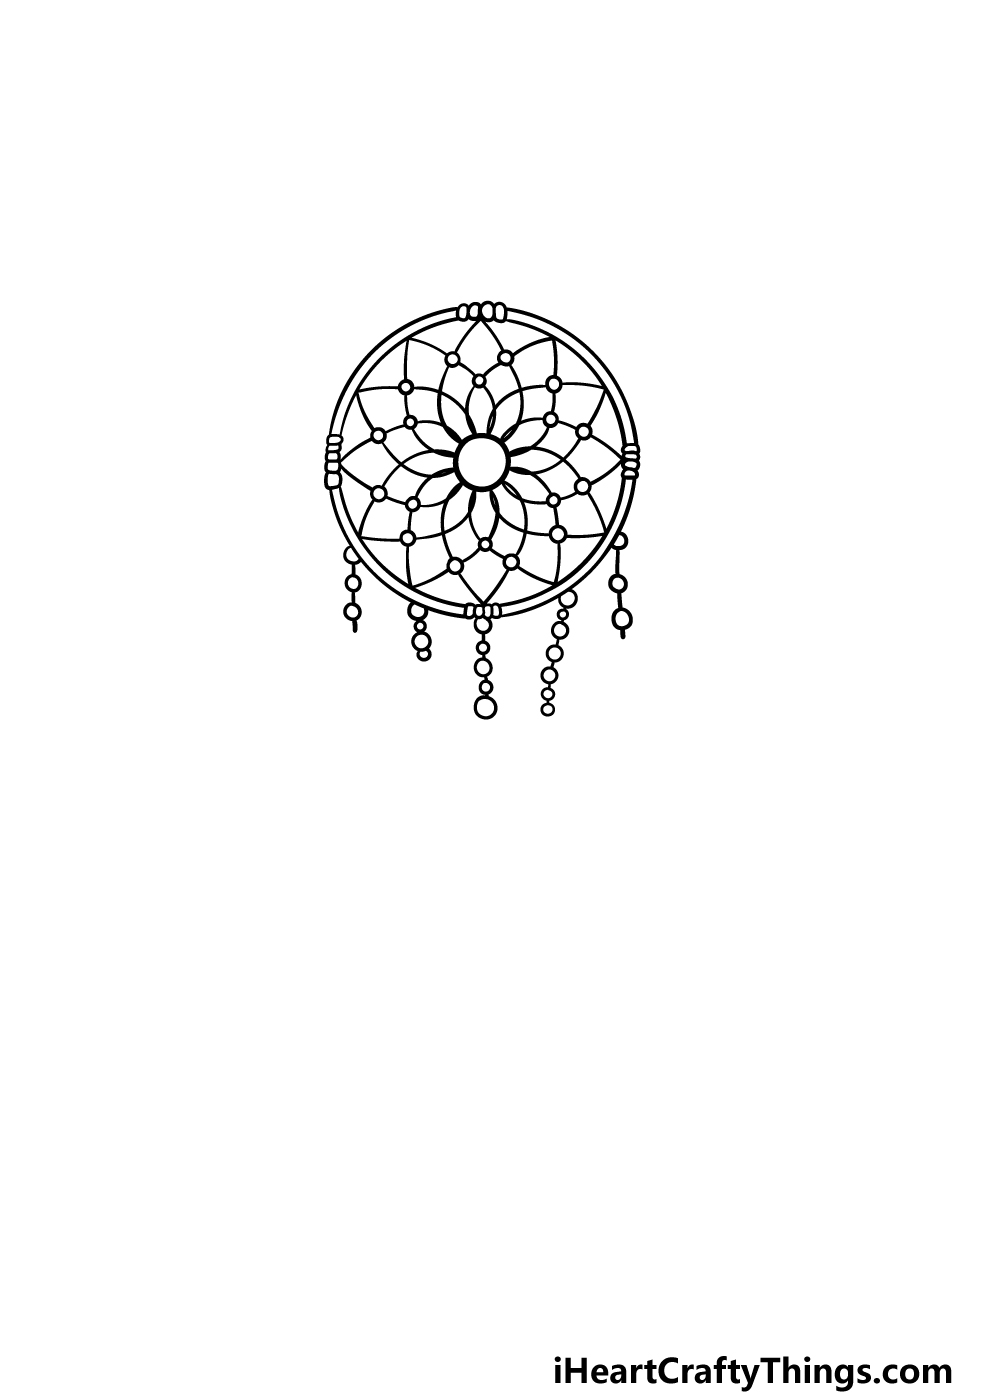
You did a great chore starting the interior design in the previous part of your dream catcher drawing, and in this one we will be finishing it off.
Simply keep extending these curving line patterns outward until they attain the rim of the dream catcher.
Then we shall be adding some pocket-sized circles to some of the joints of the wire design, as shown in the reference picture.
Pace 5 – At present, add some of the hanging artifacts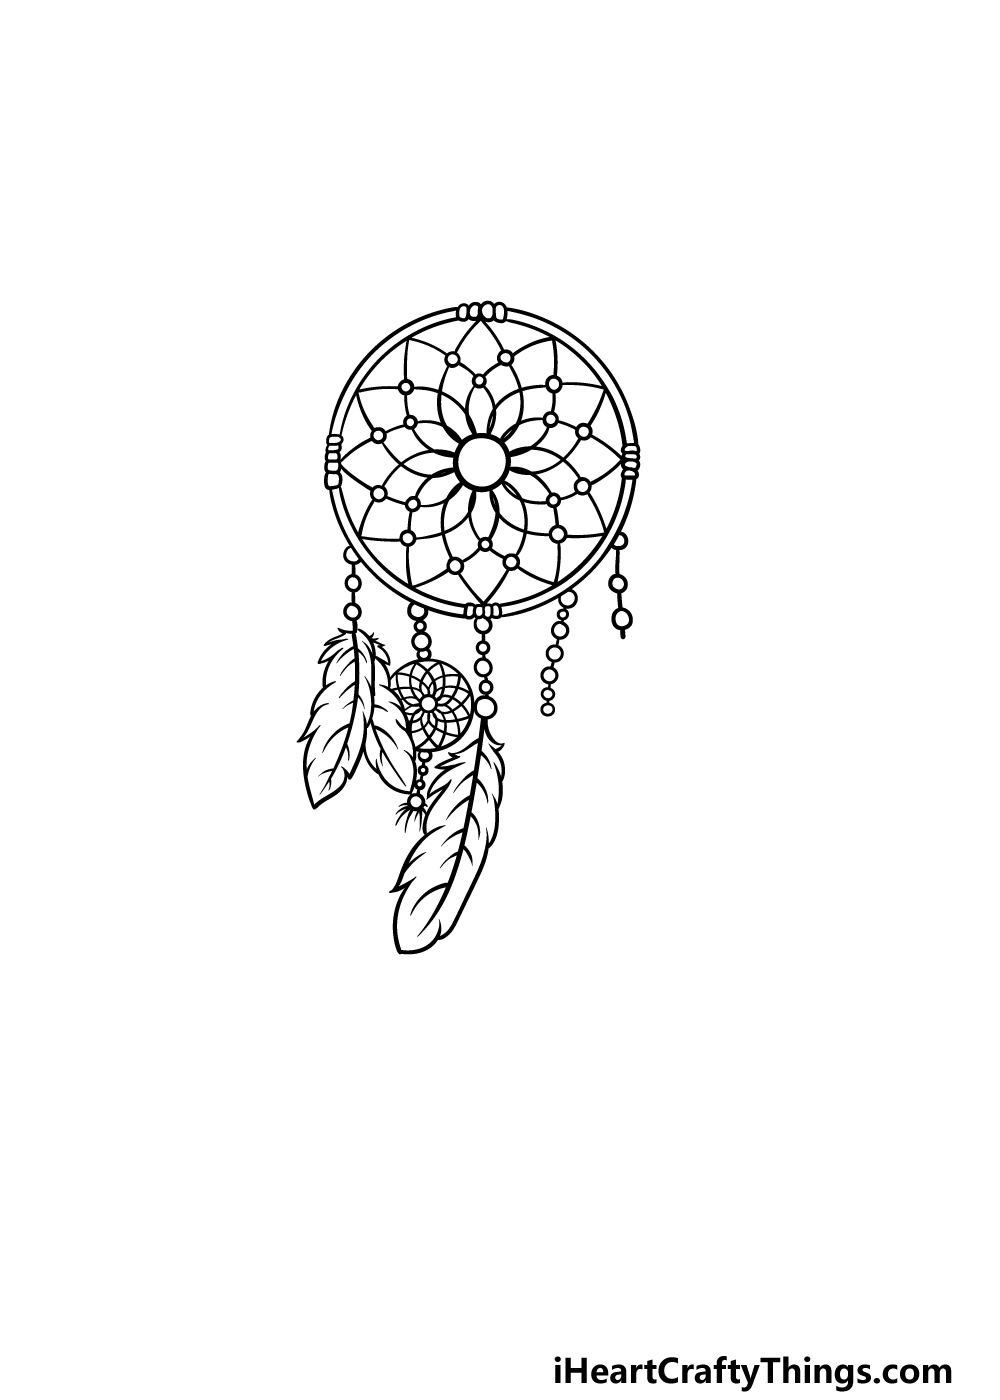
We have finished the interior of the dream catcher itself, and now yous can start on some of the artifacts hanging from information technology.
Using the hanging bead lines that you lot drew previously, we volition exist adding some modest objects such as feathers and pocket-sized charms.
Yous can besides add some different artifacts of your own choosing instead, so nosotros will add even more than in the next step of this guide on how to draw a dream catcher.
Footstep six – Next, describe some more of the hanging artifacts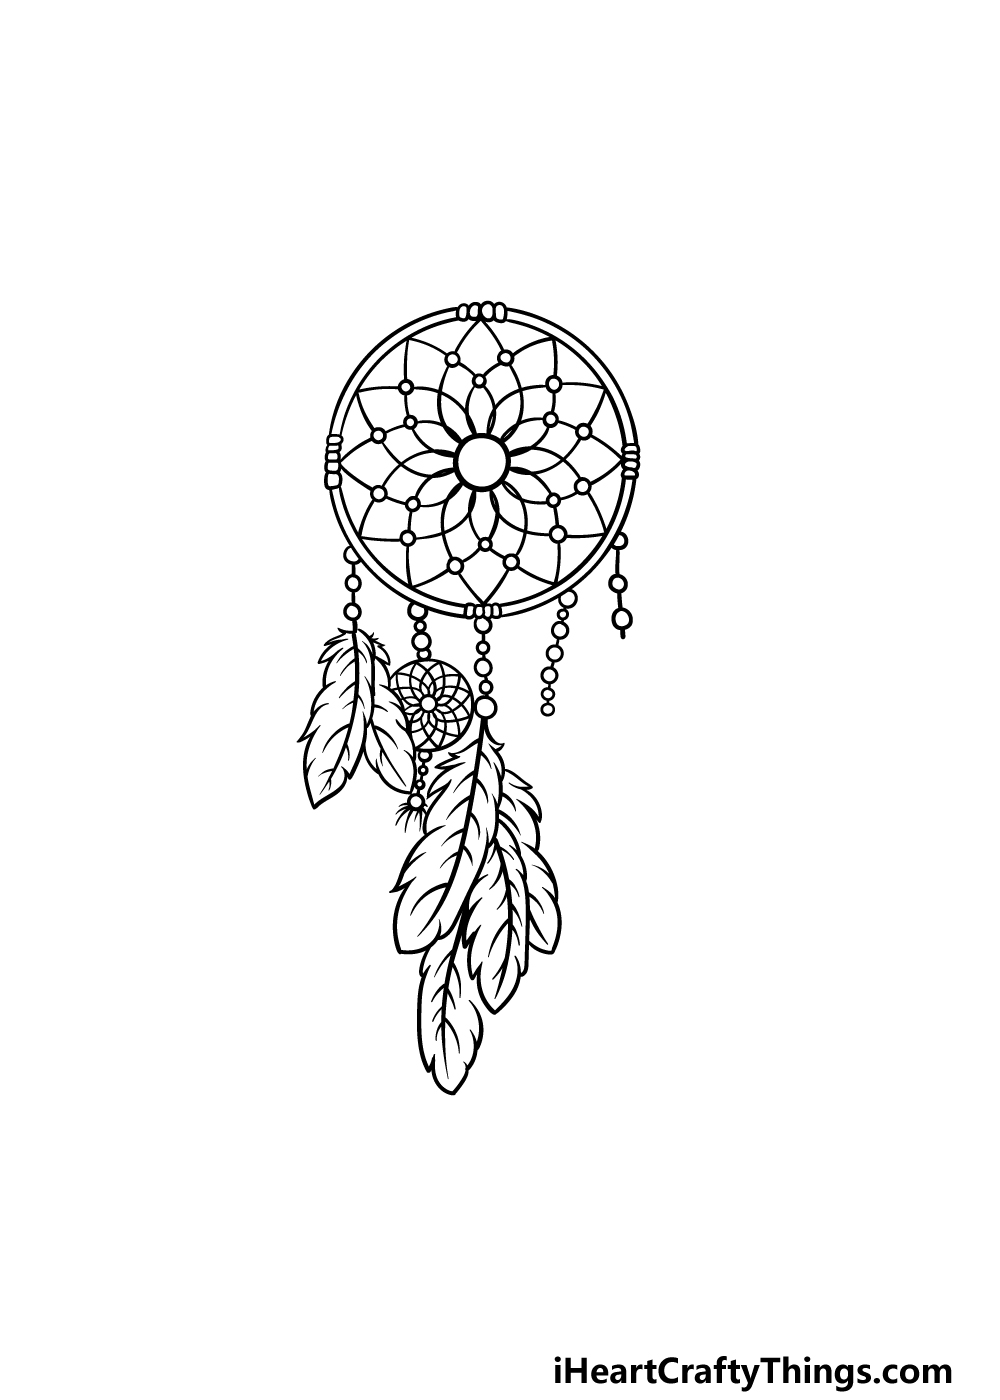
This role of your dream catcher drawing volition exist about adding more than onto the hanging artifacts.
For the design we are working on, all you need to do is draw some more than feathers hanging from the clump of feathers that you lot started in the previous step.
That's all there is to it, and and so you lot're ready to go on!
Step 7 – Finish off the final artifacts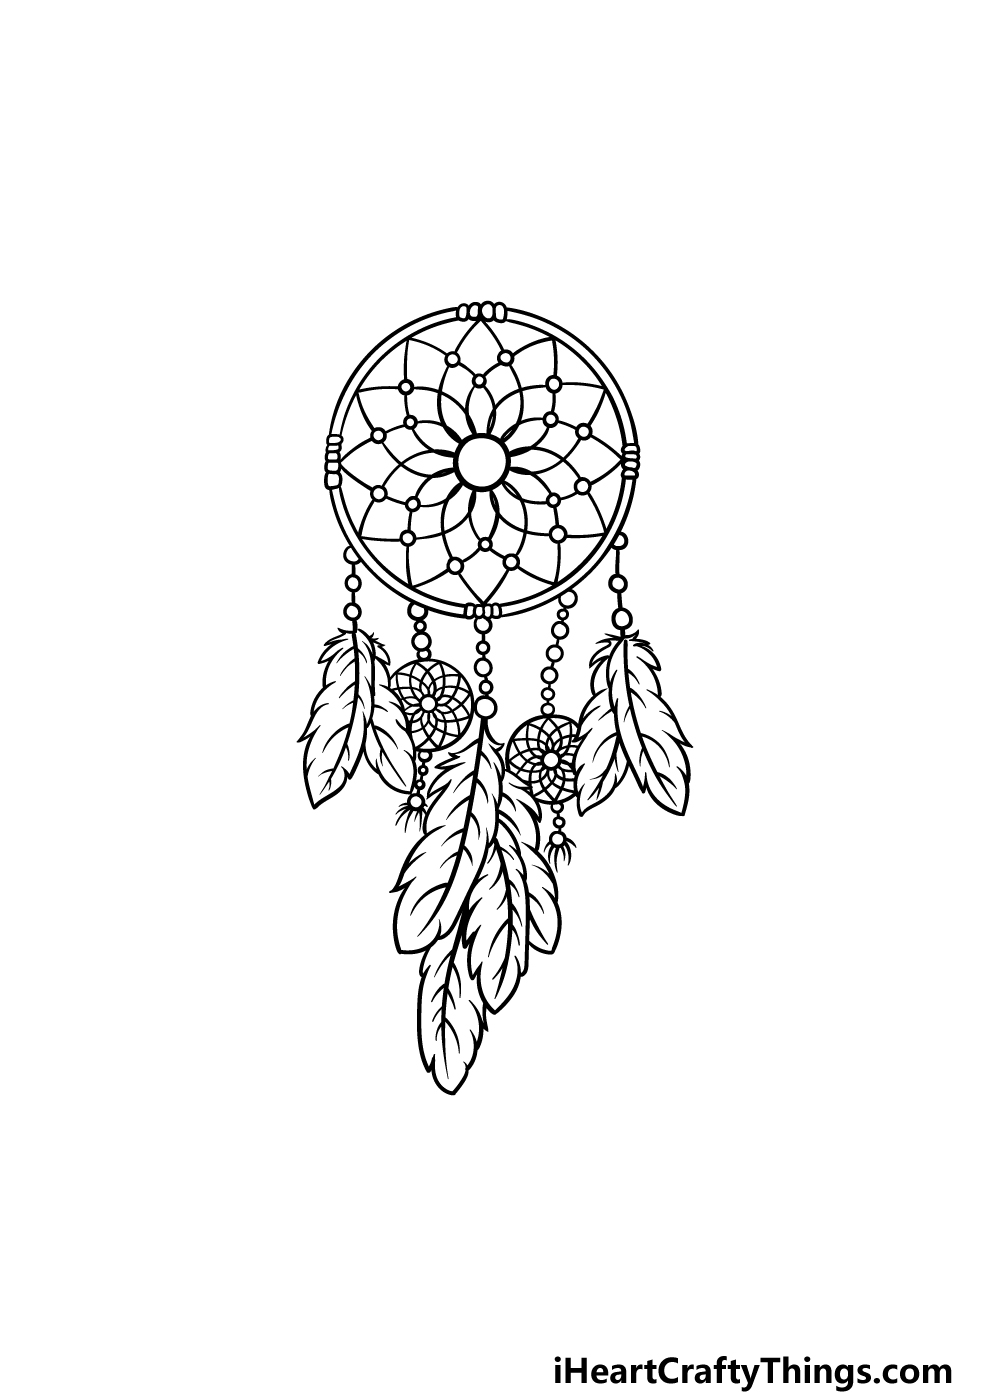
Information technology's virtually fourth dimension to finish off with some color, but first we volition add some last details in this footstep of our guide on how to draw a dream catcher.
For our design, we added another small charm and some more flowers. Don't forget that you could also change up the artifacts or add new ones!
Cartoon a groundwork is some other great style to add together your ain touch on to this blueprint as well.
Pace viii – Now finish information technology off with some color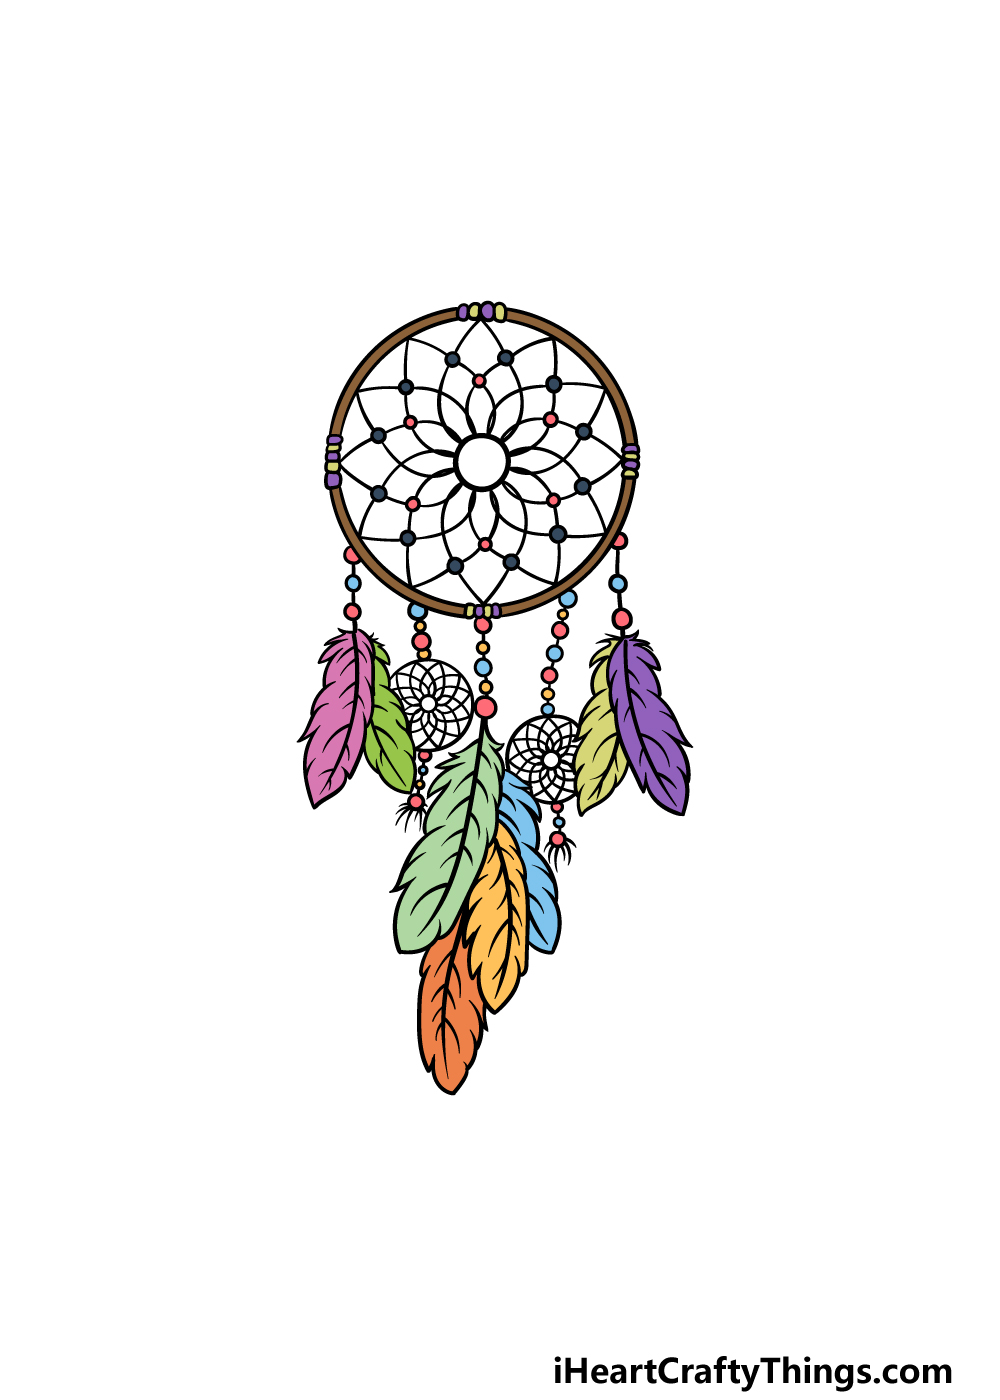
For the final stride of your dream catcher cartoon, yous can finish it off by bringing some amazing colors to it.
We used a huge variety of different colors for the dewdrop and feather detailing on it, and this helps to really make it popular off the page.
This is a stride where you lot tin have over and comprise any colors that you love likewise.
There is a lot of opportunity for some great colors, and you can switch it up a bit by irresolute up the shades, fine art mediums and tools you lot utilise. Possibly you lot could fifty-fifty stick on some real beads for more than dimension!
How will you finish off your dream catcher drawing?
Your Dream Catcher Drawing is Consummate!
You lot have completed all of the steps, and that means that this guide on how to depict a dream catcher was a success!
We promise that by using the steps in this guide that you found it to be a fun and creative experience not marred past whatsoever frustration. Remember that finishing the guide doesn't have to be the end of it!
You can as well take over and create your own unique variations by changing up details, calculation accessories to it or by drawing a background.
Experimenting with colors and art mediums is another great way to bring some variation, and then have fun creating!
Don't forget to keep visiting our website, every bit nosotros have tons of amazing guides for you and will be uploading more shortly every bit well.
We would be thrilled to run into your incredible dream catcher design, and then please do share it on our Facebook and Pinterest pages for us to admire!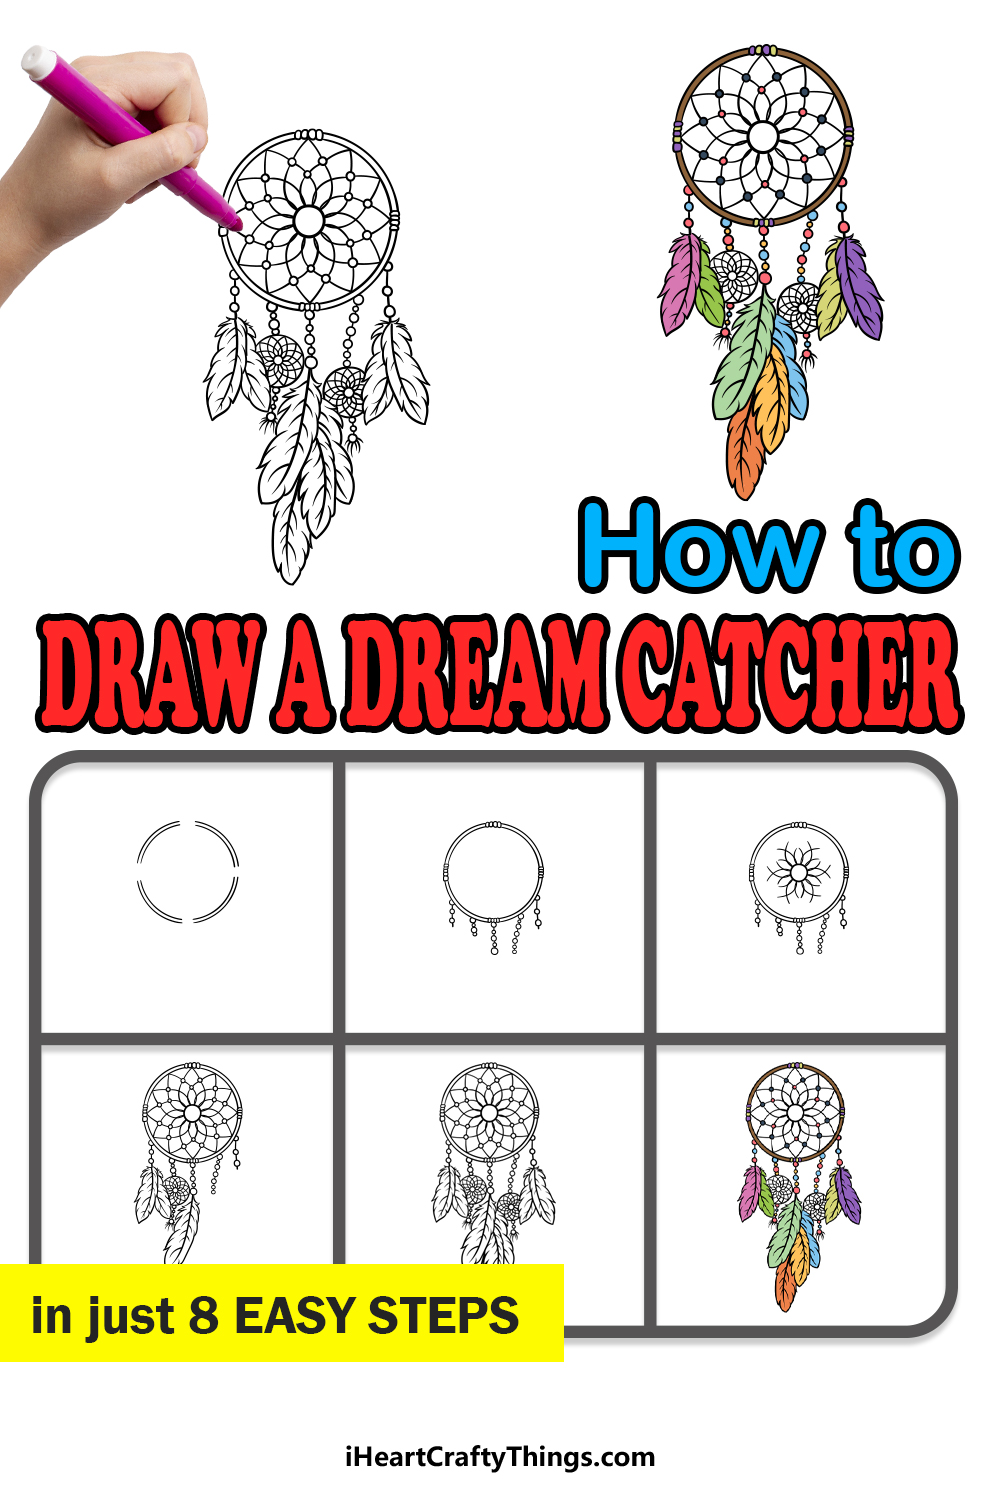
DOWNLOAD HERE
How to Draw a Dreamcatcher Step by Step for Beginners TUTORIAL
Posted by: candycamither.blogspot.com


Comments
Post a Comment